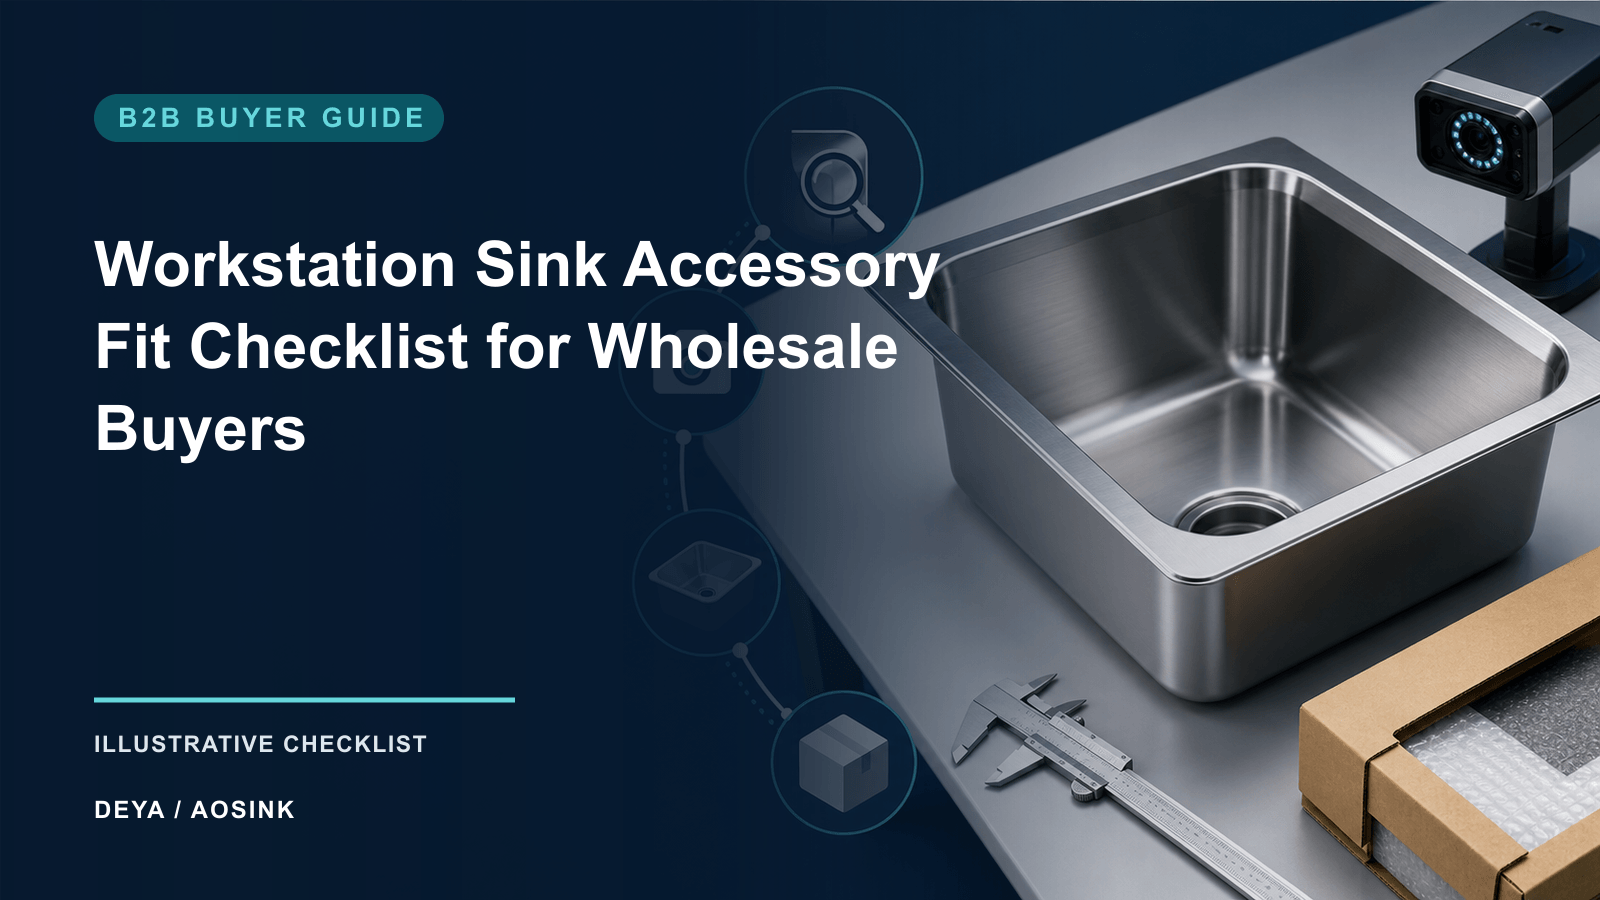
A workstation sink accessory is part of the product interface, not a free extra. The cutting board, colander, drying rack, tray, basket, bottom grid and drain cover must fit the exact ledge and bowl geometry. If buyers approve only the sink body, small accessory variation can create wobble, jamming, scratches or packing damage across a production lot.
This checklist helps wholesale buyers validate an accessory system before bulk ordering. It does not assume that every workstation sink includes the same components.
Freeze the accessory scope before comparing prices
Ask every supplier to quote the sink body and each accessory as separate line items. Record item name, part number, material stated by the supplier, finish, dimensions, quantity and packaging position. A quotation that says “full accessories” is not precise enough for commercial comparison.
Separate standard components from optional display items. Product photos often show an aspirational setup that does not equal the shipped carton contents.
Measure the support interface
For a sliding board or colander, check ledge width, ledge-to-ledge span, support length and clearance at corners. Record measurements on both the sink drawing and the accessory drawing. The interface—not the accessory’s headline length—is what determines fit.
Place the accessory at the front, center and rear working positions. Check that it remains supported through the intended travel path. Do not approve a part that fits in only one spot unless that limitation is part of the product design.
Check stability under realistic use
Use an agreed functional load that represents the intended accessory, without claiming a load rating that has not been tested. Observe rocking, bending, slipping and contact with the bowl. Record the test method and the actual result.
A wire basket used for rinsing is different from a board used for cutting. The test should match intended use and should not convert a visual sample into an unsupported performance claim.
Inspect contact points and finish protection
Identify every point where metal, wood, plastic or silicone contacts the sink. Check for sharp edges, exposed fasteners, rough welds and hard contact that can mark the finish. If bumpers or sleeves are required, include them in the component list and replacement-part plan.
The suggested image shows a real sink sample with a wire basket. It is evidence of one physical combination only; it does not prove that the same fit will be maintained across production.
Verify drainage and cleaning of accessories
For colanders, trays and baskets, check opening pattern, drainage path and whether water can collect in inaccessible areas. Review how easily the item can be removed and cleaned. For wood or composite boards, request care instructions appropriate to the supplied material.
Do not make food-safety or antimicrobial claims without applicable, product-specific evidence. Material appearance is not sufficient proof.
Confirm bottom-grid geometry
A bottom grid should match bowl corners, drain position and any drain cover. Confirm foot locations, clearances and orientation. Check that feet or bumpers are present and secured. If the grid is reversible or model-specific, label it clearly.
Test removal through the bowl opening. An accessory that fits when installed during assembly may still be difficult for the end user to remove and clean.
Validate drain covers and strainers separately
A decorative drain cover must not obstruct the intended access to the strainer or conflict with a bottom grid. Confirm the waste-fitting scope, sealing parts and replacement availability. If multiple drain systems are offered, assign separate part numbers.
Review tolerance stack-up
Fit depends on variation in both the sink and accessory. Ask which dimensions control each part, then set tolerances that can be manufactured and inspected. A perfect prototype built from hand-selected components does not show the worst-case production combination.
During a pilot or pre-production review, test accessories across more than one sink when practical. Mix components from the evaluated sample set to reveal dependency on matched pairs.
Design packaging around the accessory system
Accessories can damage the sink or one another if they move inside the carton. Confirm individual wrapping, edge protection, containment and position. Keep hard components away from visible bowl surfaces. Check that the accessory pack does not load the rim or distort thin components.
Include a carton-level packing diagram, component count and user instruction sheet. This gives incoming inspectors a simple way to detect missing or substituted parts.
Create an accessory approval matrix
| Accessory | Critical checks | Evidence |
|---|---|---|
| Cutting board | Support, travel, stability, finish contact | Drawing, sample and functional check |
| Colander or basket | Span, drainage, removal, edge finish | Part number, fit photos and measurement |
| Roll-up rack | Width, end support, slippage, storage | Sample check and packed configuration |
| Bottom grid | Corner fit, feet, drain clearance, orientation | Interface drawing and bowl fit check |
| Drain cover/strainer | Opening, access, sealing-part scope | Assembly check and component list |
Move from sample approval to lot inspection
For production, define appearance defects, dimensional checks, component-count checks and functional-fit checks. Reference the approved sink and accessory revisions in the inspection sheet. ISO 2859-1:2026 offers AQL-indexed lot-by-lot sampling schemes for inspection by attributes; it does not replace the buyer’s defect definitions or risk assessment.
Frequently asked questions
Are workstation sink accessories interchangeable between models?
Not automatically. Ledge span, corner geometry, bowl taper and drain location can differ. Approve each accessory against a controlled sink model and revision.
Should accessories have separate SKUs?
Separate identifiers reduce substitution errors and make replacement sales, inspection and inventory control easier. The buyer should decide the level of SKU detail needed.
Can a photo prove that an accessory fits?
A photo proves one visible arrangement at one moment. It does not show dimensions, stability, movement, production variation or packaging. Pair photos with measurements and functional checks.
What should be checked during incoming inspection?
Check model identity, count, visible condition, critical dimensions, fit, contact protection and packaging against the approved component list and sampling plan.
No responses yet